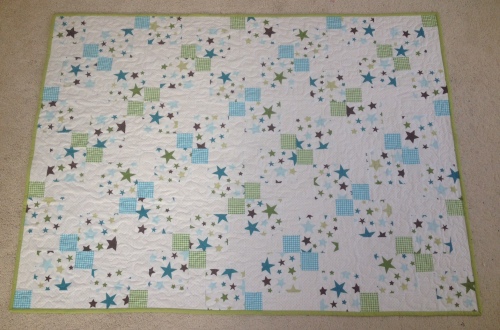
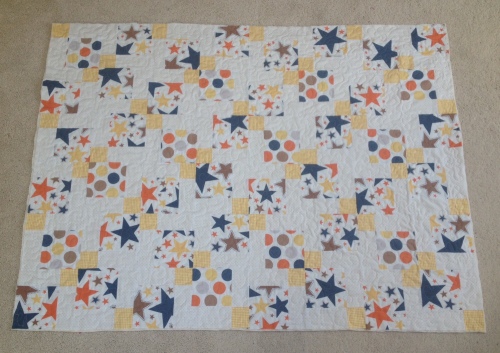
I recently finished two quilts using a very easy block, a classic: the Disappearing 9 Patch. I think it is the first block I ever made…. and one of my favourite ones because it is great for beginners and is very versatile. If you choose your fabric carefully you can end up with endless colour and print combinations with great results for the final pieced top.

For this block I used 3 different prints:
- One print for the central square. This will become 4 little squares.
- A second print for the squares in the corners, which will remain the same size.
- The third print for the squares at central top and bottom, left and right, will become rectangles.

Knowing this, you can anticipate the look of your final quilt.
For a scrappy look, you can use lots of different fabrics or combine random prints for all the squares except for example the ones in the centre… There are lots of different ways to play with the fabric combinations in this block.
Here are a few tips for making a perfect Disappearing-9-Patch block:
- Make sure you use starch when pressing your fabric before you cut it into squares. It helps to set the woven threads and the cut squares will keep their shape longer before you sew them together.
- Always pin your fabric to prevent it from moving while you sew and stick to your ¼” seam. When aligning your squares together, start pinning at the centre and move towards both sides.
- Press the line of stitches after sewing, while right sides of fabric are still together, to set them flat and then press the seams open. I always press my seams open, I find they help the pieced top lay flat more nicely.
- Just PRESS, and DO NOT IRON. Pressing means to lay your hot iron onto the fabric for a few seconds without moving it back and forth. Ironing means the opposite, moving the iron all over the fabric, this is ok for clothes, but not for patchwork, otherwise the grain will move and the pieces will loose their shape.
- When you are ready to sew one row of 3 squares onto the row below, align the edges while making sure that you match the seams (which are pressed open) between the squares, and pin together these seams first (again start at the centre and work your way towards both sides). Placing the pin on the left seam (this way ensures that when you are sewing the two pieces the seam at the bottom won’t flip over.


When you have the basic 9 patch block ready, with all corners perfectly matched, you can cut the block into quarters
Cut vertically right on the middle.
Next, cut the block horizontally (You can move your cutting mat or walk around your table instead and it will be easier to cut vertically again).

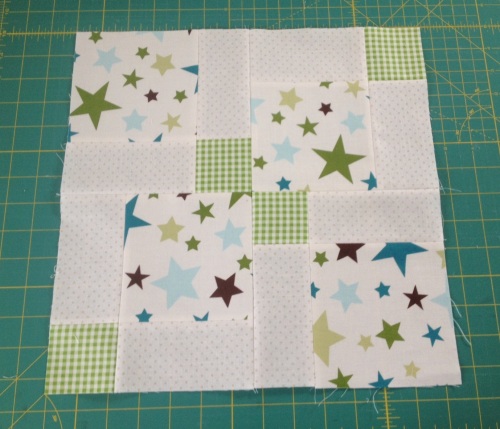
Now you can also play with the layout of the quarters of this block and arrange them in different combinations.

I chose to turn two opposite quarters and place the tiny squares to the outside corners. But you could turn around all four of them or one or three… Just experiment and see what you like.
Here’s another combination:

Once you decide how to arrange the quarters, sew them together. Follow the same method as before, by matching the seams, pin them together to avoid unwanted twists and press them open (I need to press those opened seams a bit more!:-D)


You will have the Disappearing 9 Patch with perfect matching corners lying nice and flat.
It is handy to use precut squares like a charm pack (5” squares) or just cut them into whatever size you need. I have build up a big stash of 5” squares over the years out of leftovers and generally use them for projects like this.

When using 5” squares the final size of the basic 9-patch block is 14.5” and the disappearing 9-patch will be then 14”.

I’m sure many of you have made this block before, I’d love to see what it looks like. Feel free to link it in a message if you like!
Thanks for reading !


